Free WordPress Themes That Are SEO Friendly in 2026. WordPress has the power and flexibility to run millions of sites worldwide. The best feature of WP is that you can make all changes to your free WP themes or plugins directly from the dashboard. Unfortunately, the WP theme/plugin editors that come preinstalled with WP sometimes lack very important features for site owners and developers. So, in this article, we will demonstrate how to remove the default WP theme/plugin editors and replace them with other editors. By doing this, we will help you create a more usable development environment for better quality!

Why Replace the Default Editor?
Let’s now cover the reasons you’d want to swap out your default best free WordPress theme and plugin editing tool (the code editor).
Reasons to Replace The Default WP Editing Tool:
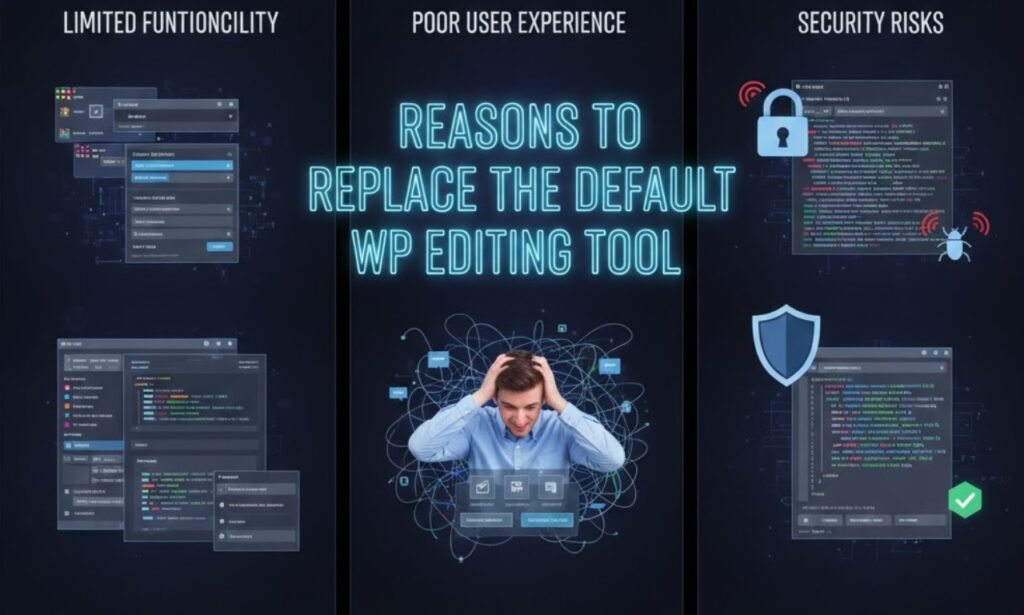
1. The WP default editor limits you. Although it may seem okay to use at first glance, the WordPress default code editing tools are pretty basic. They don’t provide many of the features that you need to code and debug your site, like effectively
- Syntax highlighting
- Code linting
- Auto-completion
- Version control.
2. You may have concerns about security with the way you edit the best free WordPress themes and plugins through the backend of your WP dashboard. You cannot go back to the previous state of your live code if you make an error during a live code edit, since there is no way to roll back without version control.
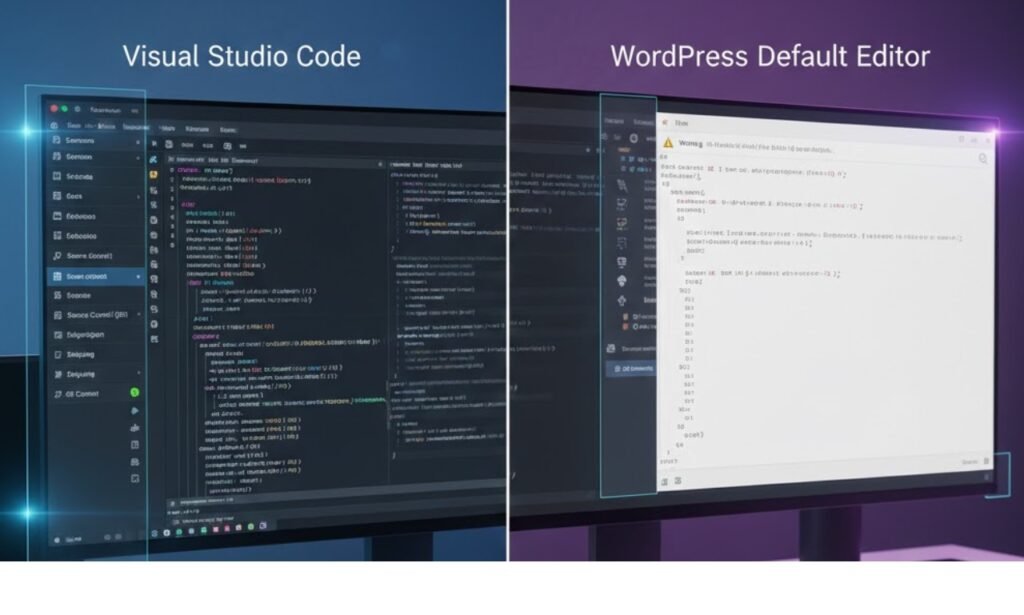
3. The advanced editor (VS Code) provides a much better user experience than using the default WP editor. You’ll be able to use many advanced coding features through IDE tools that offer multi-file editing, error highlighting, and better user interfaces.
Finding A Replacement Editor
There are almost as many default coding editor options available as there are themes to choose from. There are also many code-editing and development-environment options available. Below are some of the most popular code editing tools that can easily replace the default WP editor:
VS Code (Visual Studio Code):
The free and open-source VS Code from Microsoft will allow you to use those code editors to edit your code. The amount of available extensions and customisations to it makes it ideal for almost everyone who uses WordPress (or programming in general). VS Code has a host of developer-friendly tools that make it easier to write code than just about any other programming environment:
– It has integrated Git functionality to help manage the version control of your code
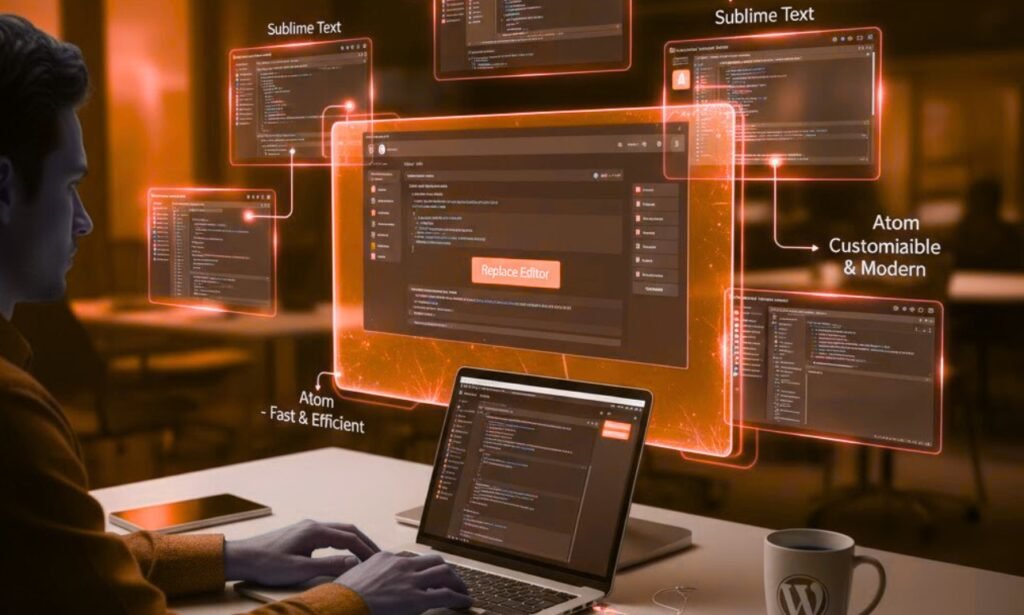
– It has a powerful debugger to help identify coding errors and performance bottlenecks. Atom
GitHub created Atom, which is a free, open-source text editor that can be downloaded and used for code editing. The fact that it is very customizable and has many different types of add-on packages available makes it an especially attractive choice for software developers because they can make their environment however they want to make it. Another advantage of Atom over all of the other options on the market is Teletype, which is a feature that allows software developers to work together while writing code.
The WordPress Theme and Plugin Editor within WordPress is an effective tool for people. However, there are many great code editors outside of the WordPress system that have been built to function as a replacement for the standard WordPress theme and plugin editor.
One of the best free code editors to use as your WordPress theme and plugin editor is Visual Studio Code (VS Code). This article will show you how to set up and use the VS Code editor as your WordPress theme and plugin instructions.
Why You Should Consider Using VS Code as a WordPress Theme And Plugin Editor vs. a Standard WordPress Theme and Plugin Editor
 STEP 1:
To better secure your website and help prevent unintentional changes to the live code on your site, it is recommended to disable the default editor. You have multiple options for doing this. One way is to put the following in your wp-config: define(‘DISALLOW_FILE_EDIT ‘); With this code, you will disable both the theme editor and plugin editor found in your WP dashboard.
Step 2:
Set up the local development environment. To properly test out and make changes to your site prior to launching, it is vital to create a local development environment for WP development. To Create a Local Server You can install many different applications on your computer to create a local server. Examples of applications that can be used to build a local server are XAMPP, WAMP, and Local by Flywheel.
Download WP: Download your most current version of WP and install it onto your local server. Clone Your Site. If you would like to work on an existing site, you can clone the site to your Local Server with the option of using the Duplicator and WP Migrate DB tools, etc.
Step 3: Install and configure your code editor.
Visual Studio Code has many extensions to help you with your development work. Here are some that I recommend:
PHP Intelephense—This extension will help provide support for advanced PHP.
WordPress Snippet: You will find code snippets for WordPress in this extension.
Live Server—this extension will allow you to preview your website live.
GitLens—this extension will allow you to work with the built-in Git elements of Visual Studio Code.
Step 4: Open Your WP Project in Visual Studio Code.
Open Visual Studio Code. Click on ‘File > ‘Create Folder’ and choose the top-level folder where your WP installation is stored.
Step 5: Configure Debugging in VS Code;
You need to set up your website for debugging using both the Visual Studio Code IDE and by getting the correct debugging configuration values in the Xdebug Extensions for PHP before you can begin debugging your website. To set up and use Xdebug on your website, you need to first download the latest Xdebug version from https://xdebug.org/docs/install.php.
After you download and install Xdebug, you will need to add the following configurations to your php.ini for Xdebug:
[Xdebug]
zend_extension=xdebug
xdebug.remote_enable=1
xdebug.remote_host=127.0.0.1
xdebug.remote_port=9000
xdebug.remote_handler=dbgp
Step 6: Setting Up VS Code;
Open VS Code and access the Debugging view by either selecting the debugger icon on the left side of the interface or using the keyboard shortcut Ctrl + Shift + D. Next, click on the gear icon to begin creating the launch.json file and input the following code: {“version”: “0.2.0”, “configurations”: [{…}]}
Step 7: Edit the Best Free WordPress Themes and Plugins Using VS Code;
You can start making changes to themes and plugins within VS Code. Find the Theme or Plugin Folder: In the VS Code Explorer, locate the folder for the top free WordPress theme or plugin you want to edit. Making Changes to Your Files: You can create or modify files within Visual Studio Code (VS Code) to make improvements. VS Code’s enhanced features—such as syntax highlighting, IntelliSense (automatic suggestions), and error highlighting—will help improve your coding experience.
Setting Up Version Control: If using Git as your version control system, create your repository in your project folder so you can keep track of your changes, make branching easier, and manage your repository overall.
Step 8: Deploying Changes Onto A Live Site;
After testing your changes locally, you will need to put them on your live website as well. Creating Backups: It is important to create backups of your site before you make any changes to it; this way, if something does go wrong, there will be a safe version of the site.
Deploying Changes: There are many ways to deploy changes, including FTP/SFTP or using Git (or other version control systems). There are even tools like GIT-FTP and WP Pusher to help automate this process.
Here are several ways you can enhance your workflow utilizing a WordPress website; some have already been covered, though.
Child Theme Creation: Developing a child theme for any theme you’ll be modifying is a great way to give yourself confidence that you won’t lose any customisations when you update your parent theme.
Hooks: In WordPress, hooks (action & filter hooks) can provide you with a means to add to or customise your site without editing any of WordPress’ core files.
Simplifying Your Process with: Automation – A tool like Gulp or Grunt will allow you to automate repetitive tasks that would normally be done on a daily basis by running batched actions in an automated way. If you are using either task runner, you would have control over the day-to-day operations of your website through one tool rather than manually performing these tasks as they occur. Examples include optimising the creation of minified versions of CSS & JS.
Staying Secure and Current: If you are using free or commercial themes/plugins, you must keep your site up to date, regardless of whether you are using a free or commercial version. Examples: Download a security plugin such as Wordfence or Secure to secure your website from a variety of attacks.
Conclusion
Utilising a more powerful code editing application, such as VS Code, as opposed to the regular WP theme or plugin editor, will provide you with many advantages for your overall development experiences. Many advanced capabilities offer you a better, safer, and friendlier workspace that results in an overall greater coding experience. By completing all the steps provided in this article, you will have established a great local development site, set up your code editor properly, and successfully deployed your changes to your live site with ease.